Automating Releases and Publishing with Nx Release


I have been using Nx to start all my projects for a long time—from services and applications to a set of different libraries. Nx provides many convenient and high-level tools for efficient monorepo management. However, one problem has been haunting me for a long time—releasing and publishing libraries. Each time, I had to devise and try to implement another workaround that excluded the errors from the previous one. However, each new solution usually had its own drawbacks.
But Nx 17.0 allowed us to release and publish packages out of the box! Of course, Nx Release has drawbacks, but at least it's an out-of-the-box solution, and (spoiler) it works great on GitHub. Today, we will look at setting up Nx Release using the example of the young micro-frontend framework Mexo.
Setting up Nx
The first step is to add Nx Release settings to nx.json:
{
  "release": {
    "projects": ["libs/*"],
    "version": {
      "conventionalCommits": true
    },
    "changelog": {
      "workspaceChangelog": {
        "file": false,
        "createRelease": "github"
      }
    }
  }
}
Let's break down what we have configured here:
projects— filter for projects to be published. In our case, these are all the publishable projects in thelibsdirectory.version.conventionalCommits— setting to enable automatic release based on commit message conventions.changelog.workspaceChangelog.file— enable/disable writing changelog to a file. The changelog can be written to a file at the workspace level or for each publishable library.changelog.workspaceChangelog.createRelease— there are few permissible values —githuborfalse. When set togithub, a release will be created on GitHub with the attached changelog.
By default, Nx publishes packages from the package root without building. In our case, all packages must be built first and publish the built artifacts only then. To do this, we will make some more changes to nx.json. In the targetDefaults section, we will add a configuration that modifies the publishing process.
{
  "targetDefaults": {
    ...
    "nx-release-publish": {
      "dependsOn": ["build"],
      "options": {
        "packageRoot": "dist/libs/{projectName}"
      }
    }
  }
}
nx-release-publish is a reserved command for publishing libraries. Using the "dependsOn": ["build"] setting, we indicate that the build command should be run immediately before publishing. We also set options.packageRoot to publish from the build artifacts.
This configuration allowed us to automatically release and publish libraries based on commit messages. Let's move on to setting up GitHub Actions.
Release and Publishing in CI
First, let's create a workflow running when changes are pushed to the main. Create a file .github/workflows/ci.yml with the following content:
name: CI

on:
  push:
    branches:
      - main

jobs:
  main:
    runs-on: ubuntu-latest
    steps:
      - uses: actions/checkout@v4
        with:
          fetch-depth: 0
      - uses: actions/setup-node@v3
        with:
          node-version: 20
          cache: 'npm'
      - run: npm ci
      - uses: nrwl/nx-set-shas@v4
      - run: npx nx affected -t lint test build
      - run: git config --global user.email "[email protected]"
      - run: git config --global user.name "YourName"
      - run: npx nx release --skip-publish
The most important line in this file is:
npx nx release --skip-publish
When this command is called, Nx will find the previous version and check if a new release can be created. If a release should occur, Nx will write the new versions to package.json and make a service commit with version fixation. Nx will then add a version tag to this commit and create a release on GitHub. The --skip-publish option skips package publishing. We will move the package publishing to a separate workflow.
To do this, create a file .github/workflows/publish.yml:
name: Publish

on:
  release:
    types:
      - created

jobs:
  test:
    name: Publish
    runs-on: ubuntu-latest
    permissions:
      contents: read
      id-token: write
    timeout-minutes: 10
    steps:
      - name: Checkout repository
        uses: actions/checkout@v4
        with:
          fetch-depth: 0
      - name: Install Node
        uses: actions/setup-node@v4
        with:
          node-version: 20
          registry-url: https://registry.npmjs.org/
      - name: Install dependencies
        run: npm install
        shell: bash
      - run: git config --global user.email "[email protected]"
      - run: git config --global user.name "YourName"
      - name: Publish packages
        run: npx nx release publish
        shell: bash
        env:
          NODE_AUTH_TOKEN: ${{ secrets.NPM_ACCESS_TOKEN }}
          NPM_CONFIG_PROVENANCE: true
Note that this workflow is triggered by creating a release, not a tag. A tag created from CI cannot physically trigger another workflow.
The last command only triggers package publishing. The only thing you need to do for publishing to a public registry is to issue an Access Token and put it in the NPM_ACCESS_TOKEN secret.
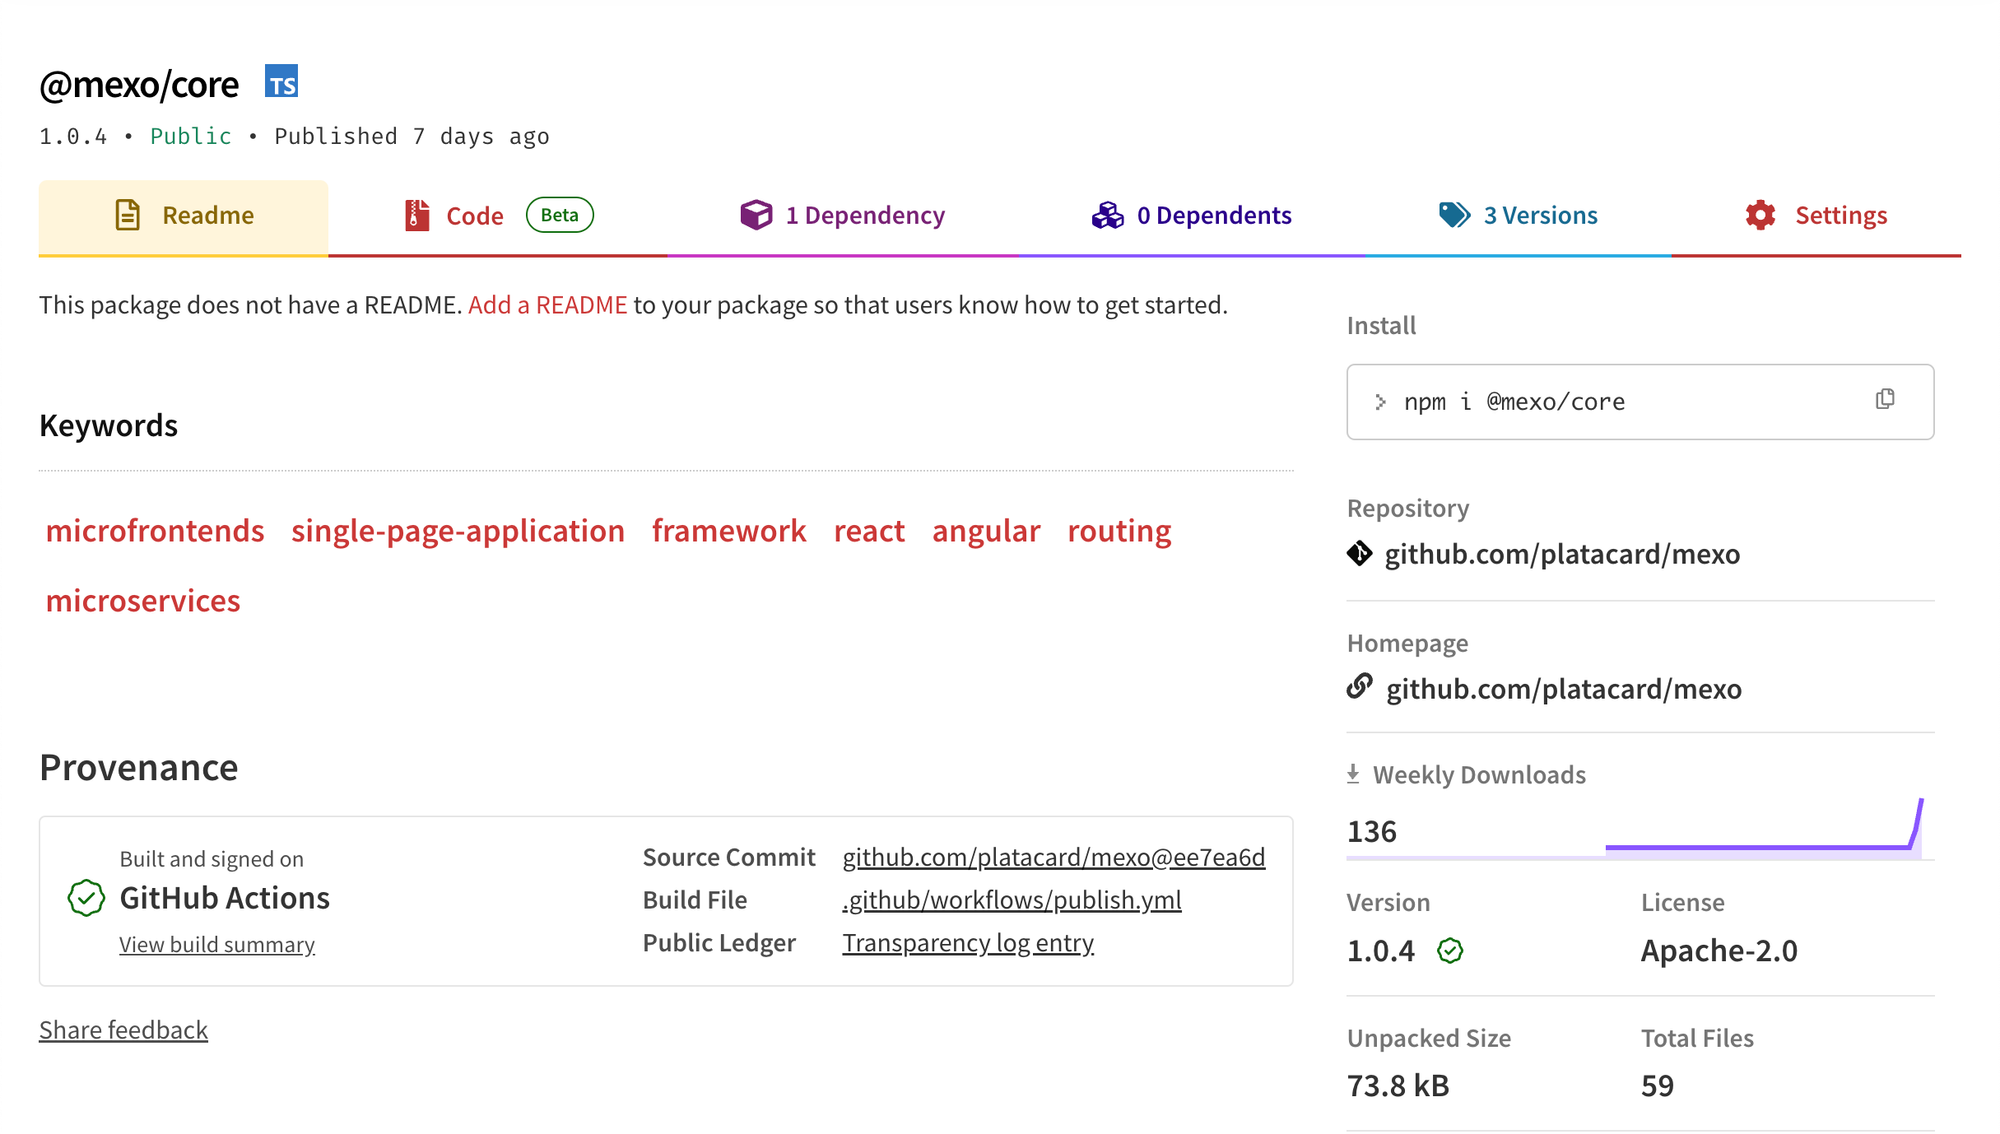
For more information on NPM_CONFIG_PROVENANCE, you can read here. In short, it adds a checkmark to your package page in the npm registry.
Commit Message Validation
To create releases correctly, you need to strictly follow commit message conventions. We use Husky and commitlint for this.
Husky allows us to use a pre-commit hook. And commitlint will validate the message and prevent the commit if the convention is not followed.
First, set up and install commitlint:
npm i @commitlint/cli @commitlint/config-angular @commitlint/config-nx-scopes @commitlint/cz-commitlint @commitlint/prompt-cli -D
Then add commitlint.config.js and configure the messages:
module.exports = { extends: ['@commitlint/config-conventional'] };
Then add the .husky/commit-msg file:
#!/usr/bin/env sh
. "$(dirname -- "$0")/_/husky.sh"

npx --no -- commitlint --edit ${1}
Add the install script to package.json:
{
  "scripts": {
    "prepare": "husky install"
  }
}
And install husky:
npm i husky -D
Now, a developer must follow the commit message conventions every time. Thanks to this, releases will always correspond to the changes, and as a bonus, a beautiful changelog will be generated.
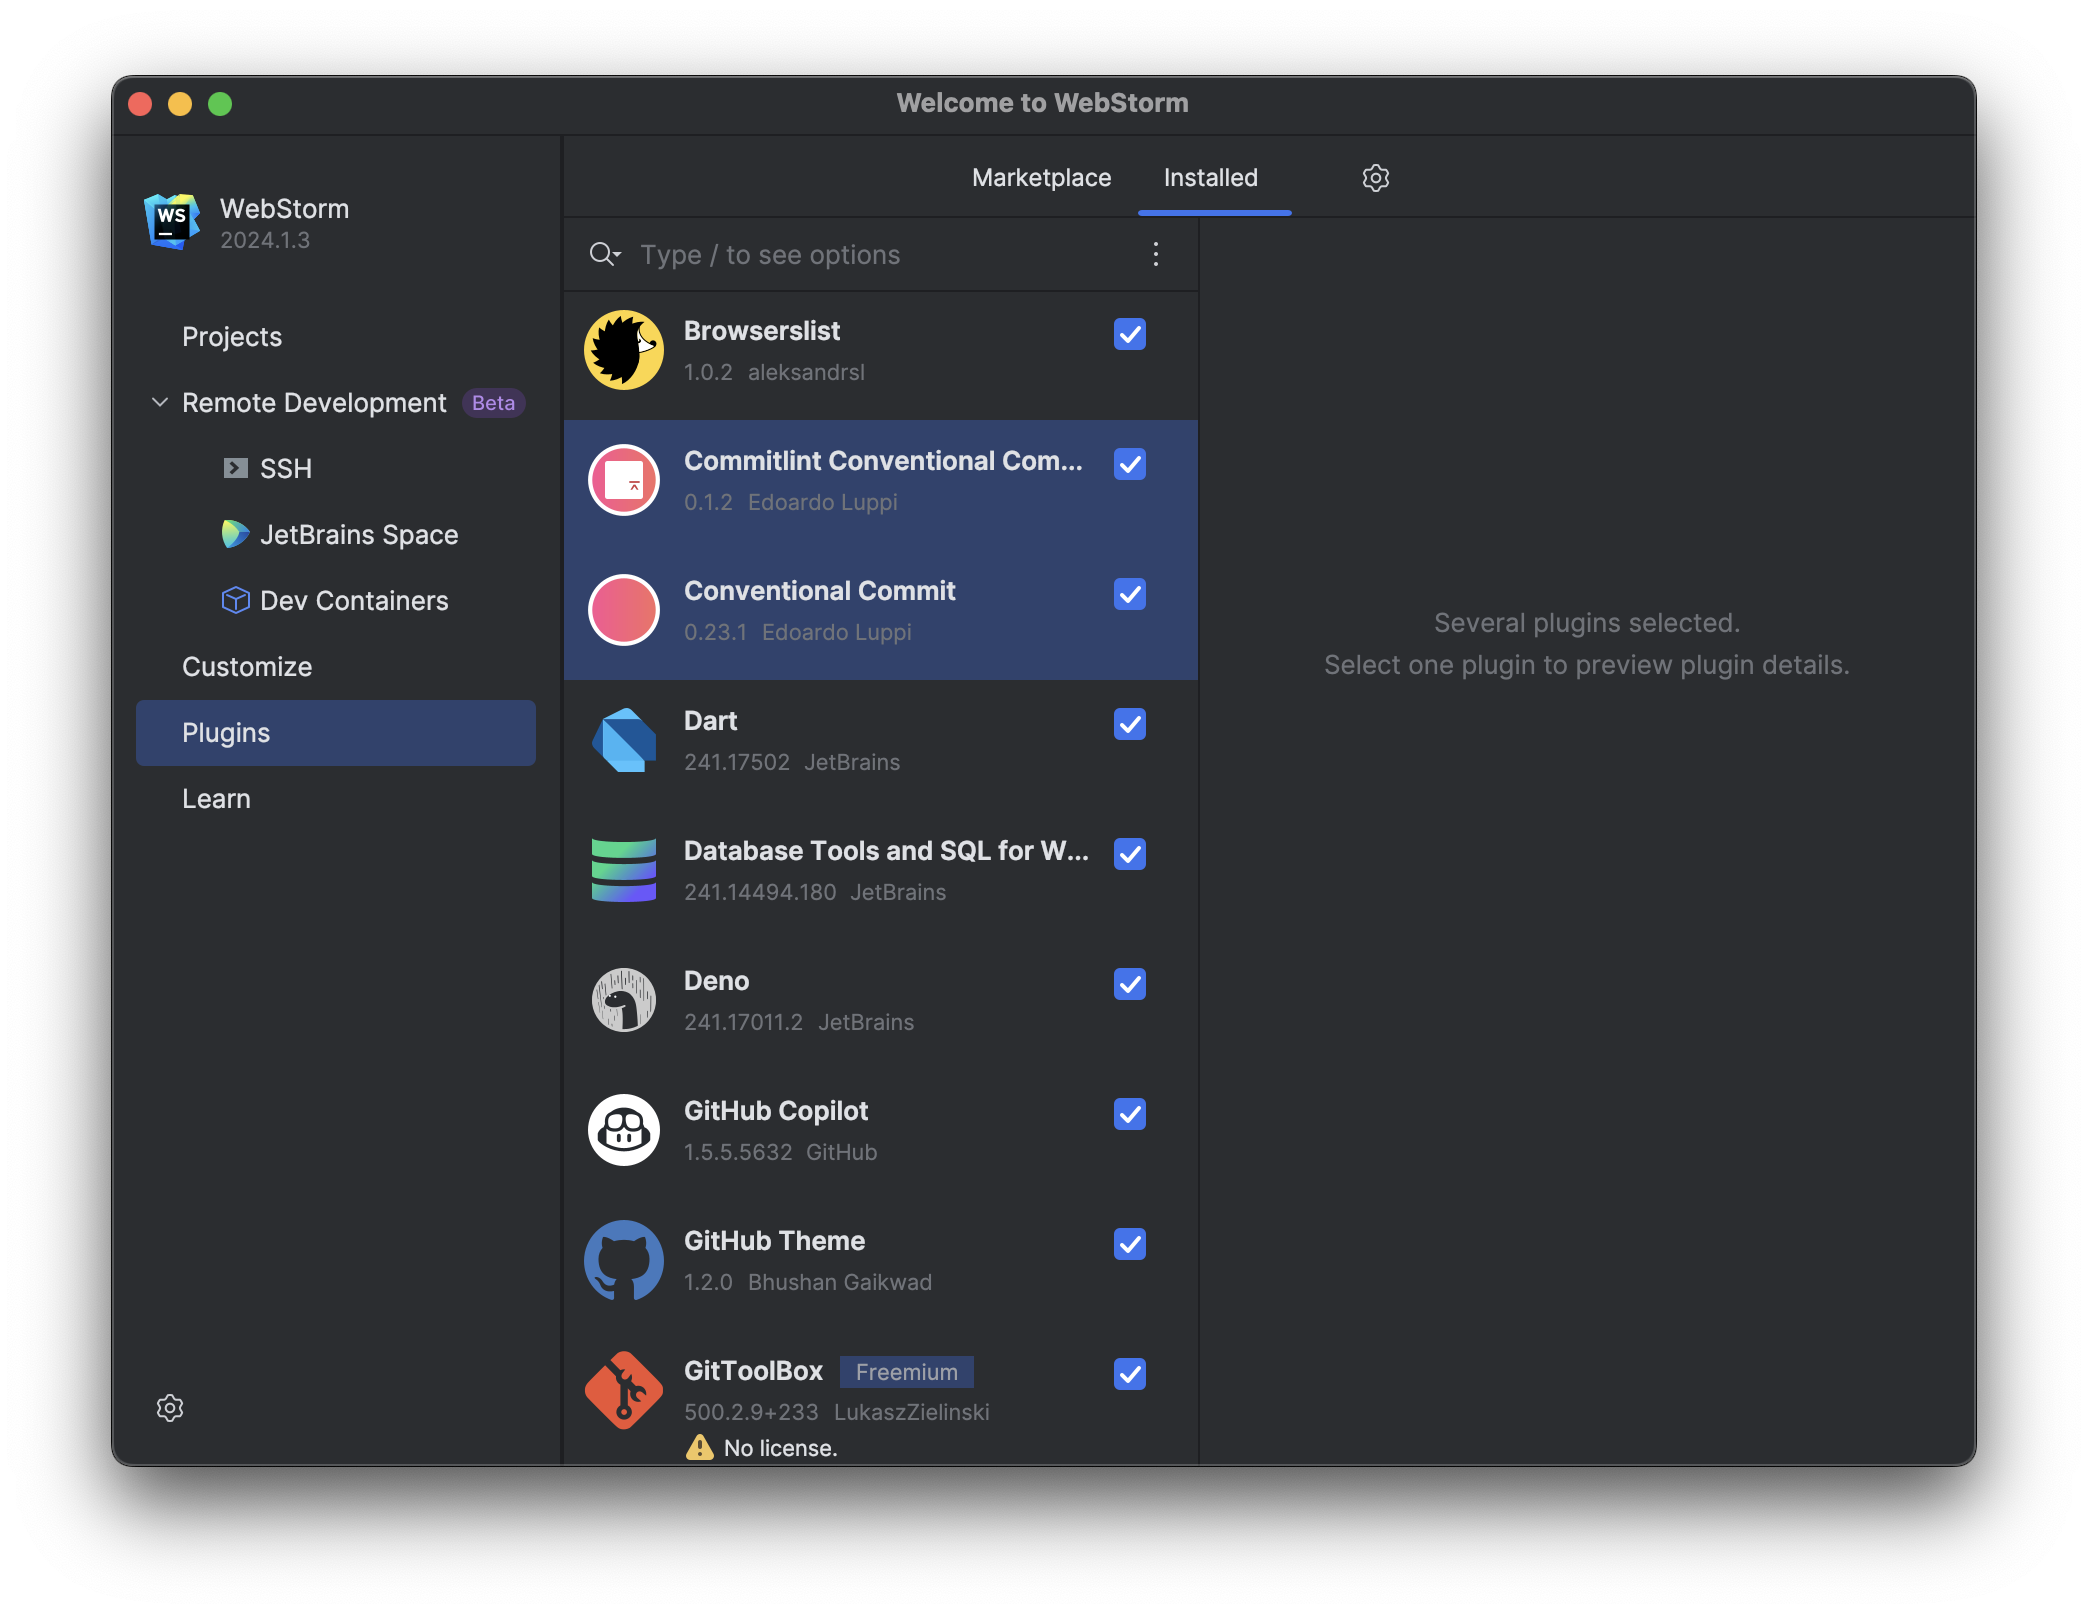
You can find relevant plugins in the IDE for hints on message format according to your configuration. For example, below is a screenshot of two plugins for WebStorm:
Disadvantages of Nx Release
I am almost delighted with Nx Release as a versioning and publishing tool. I found two drawbacks for myself:
- All guides and development look like the release should happen on one of the developer's local machines, and only the publishing happens on the CI side.
- It lacks integration with GitHub alternatives. For example, self-hosted Gitlab is often a source code hosting in companies of various sizes, and the lack of integration with it can be a serious obstacle to using Nx Release.
In general, I have no major complaints about the tool.
Conclusion
Nx Release offers a powerful and convenient way to automate the release and publication of packages in monorepos. With support for commit message conventions, automatic release creation, and GitHub integration, developers can save a significant amount of time and minimize errors related to version management. By setting up all the necessary processes, we can be sure that each release will accurately reflect code changes, and package publishing will occur without issues.
Despite a few drawbacks, such as insufficient documentation for CI/CD setup and limited integration with other source code management platforms, Nx Release remains one of the best solutions for version management and package publishing in monorepos. It significantly simplifies the development process and improves product quality.
Automating release and publication with Nx Release makes developers' work more productive and efficient, allowing them to focus on writing code rather than routine tasks. This ensures that projects maintain high standards and deliver consistent updates without the usual headaches associated with manual release processes.