Micro-frontend Architecture. Part 4. Tooling and Practice

Hello! 🚀 We continue our exciting dive into the world of micro-frontends. In this part, we will uncover the secrets 🧐 of tools and practices that will help our architecture adhere to the principles of layered design.
In the last article, I took you into the depths of the basic principles of layered architecture and showed how our application was divided into key layers. If you need a refresher, here's a link for you. 📖 Now, let's figure out how to create a monorepo from scratch, which will become a reliable basis for all our agreements.
Creating a new Nx Workspace 🛠️
This time, we will not touch on creatingadding Nx to an existing repository. In the official documentation, you will find many options for migration and Nx integration, from Lerna monorepo to migrating from Angular CLI. Today, we will focus on creating a mono repository from a clean slate.
First, let's execute one small but mighty command. We'll select our technology stack and the type of mono repository, and if the heart desires, connect Nx Cloud. 🌩️
After the command is executed, it's time to open the project in your favorite IDE. If you chose an IDE from JetBrains or VSCode, I recommend installing Nx Console. This tool will save you mono repositorytime on routine terminal commands and visualize all the most important information about the monorepo. 🖥️✨
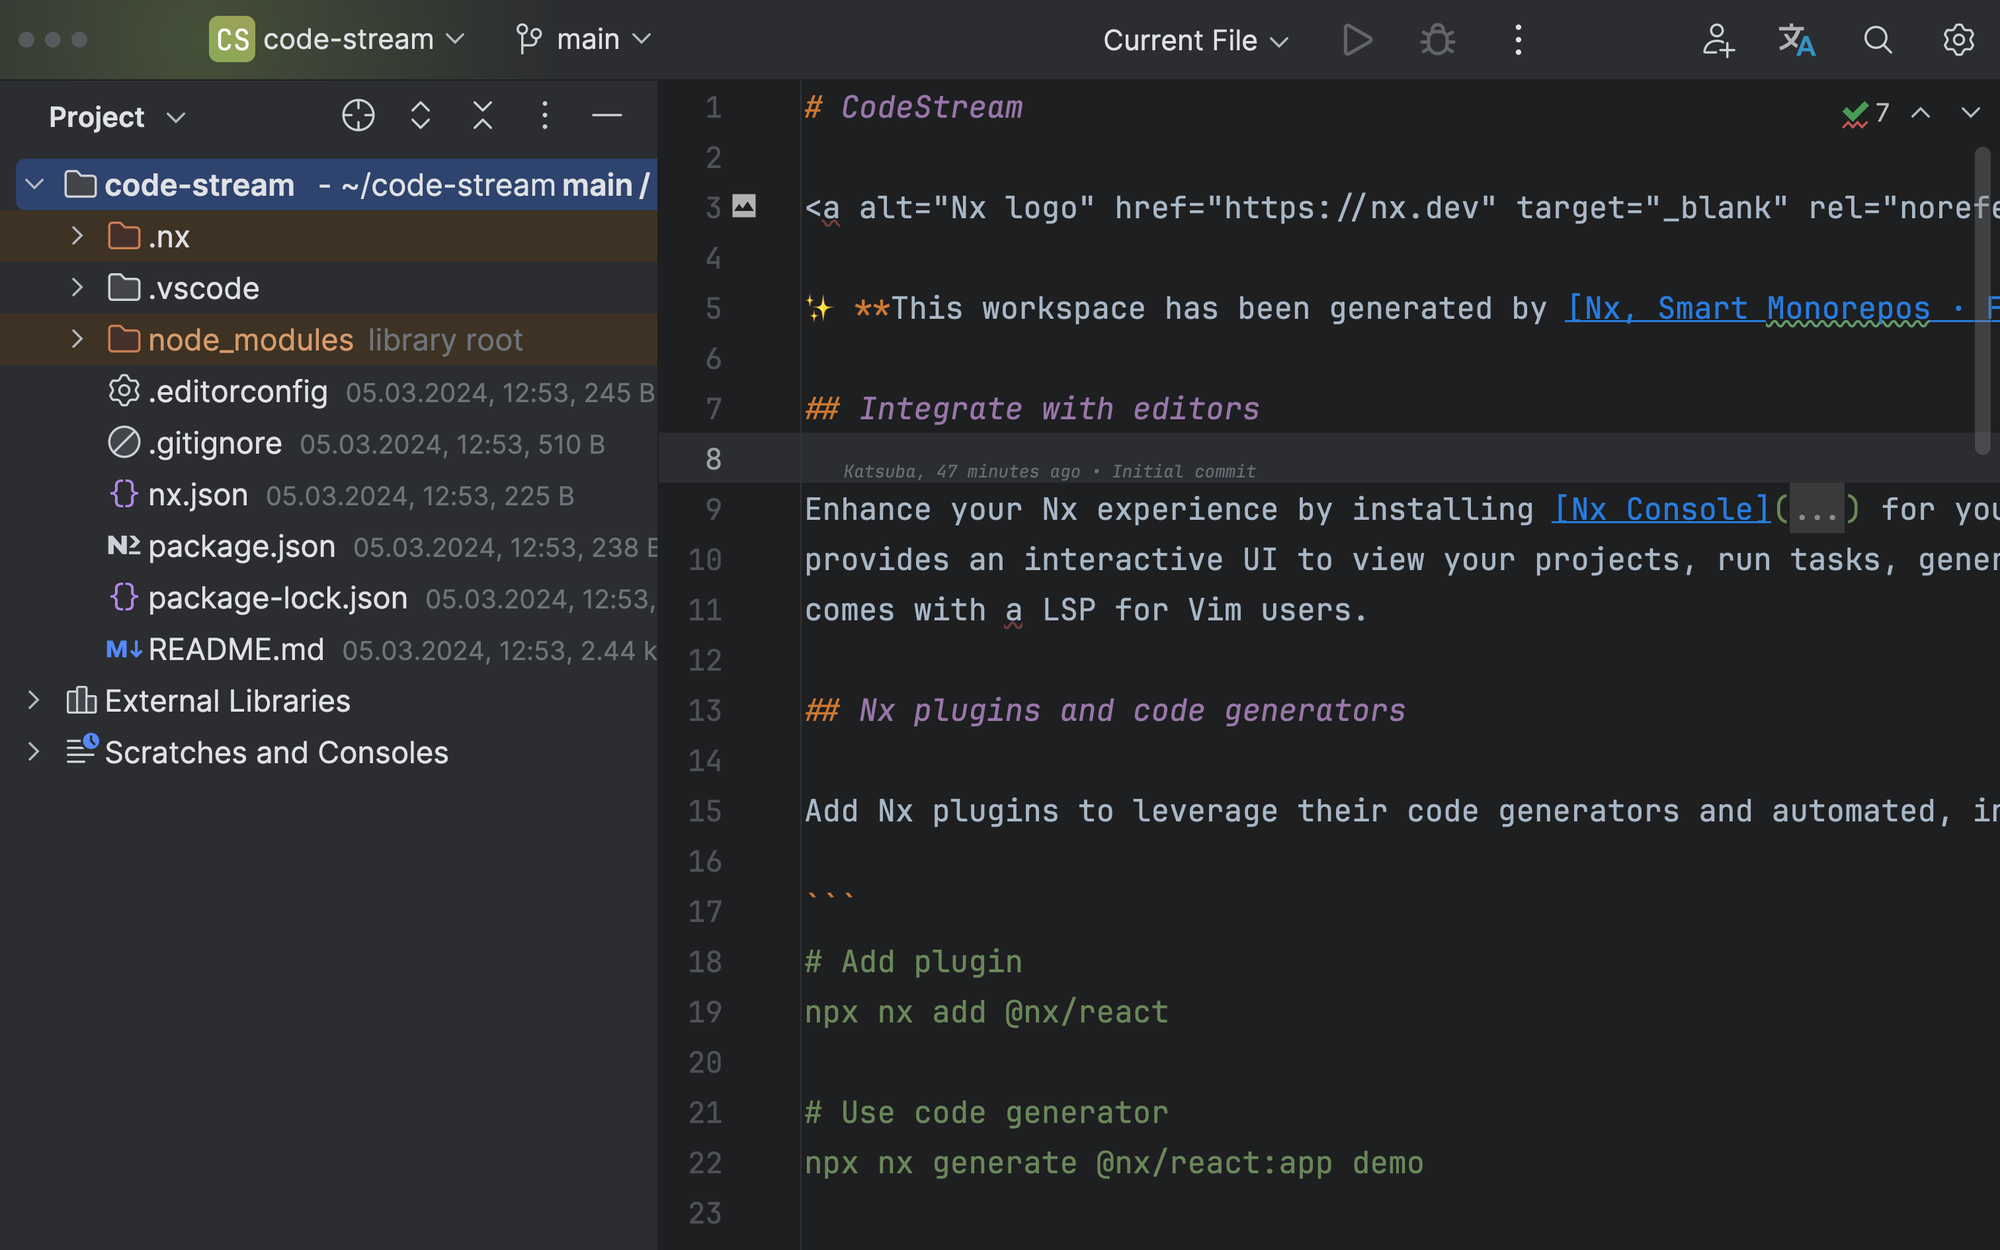
The mono repositorydramatically created in this way initially contains only basic configurations. Applications or libraries in it will appear only if you selected the corresponding stack at the beginning.
Creating a host application 🏗️
Let's start with an important step - adding an Nx plugin for Angular. With the arrival of the latest framework versions, we have the nx add command at our disposal, which dramatically simplifies the integration process:
nx add @nx/angular
This command will automatically add the plugin and all the necessary packages and settings for its operation.
With the addition of the plugin, we open the door for generating Angular applications. But let's not forgetsuccessfully creating we have a micro-frontend architecture, so first of all, we create not just any applicationthat but a host application. This will be our container for all other applications, the central assembly point for micro-frontends.
After successfully creatingsystem parts the application, various service files will appear in our repository. We pay special attention to the .eslintrc.json file - with its help, we will differentiate our layers and ensure the purity of the architecture. In this file, we will set up rules for eslint that will help us keep the code in order and follow the established architectural principles. 🛠️💻
Layers and their dependency rules 🛠️📚
The key point in setting up our project's architecture lies in managing dependencies between different system partsby. In .eslintrc.json, there is the @nx/enforce-module-boundaries rule, which plays an important role in this process.
Let's take the depConstraints setting. Initially, you may see that any tag (*) can depend on any tag (*). But let's understand what tags are in the context of Nx. A tag is a way of marking applications and libraries in your project, which you can set during generation:
ng generate @nx/angular:application --tags=tag1,tag2
Or later change in the tags in the project.json of each project. This gives us a powerful tool for defining and controlling dependencies in our project.
The key to managing dependencies lies in the correct application of tags. We define tags corresponding to the layers of our architecture: layer:core, layer:feature, layer:block, layer:page, layer:app. This allows us to introduce clear rules for dependencies between these layers, managed through settings in .eslintrc.json.
To make these rules work, we must follow two important principles:
- Linter rules should be checked on every pull request in CI (Continuous Integration), blocking any changes that do not meet our standards.
- Each project in the Nx Workspace must be associated with a specific layer through a tag, allowing us to control dependencies at the architectural level.
Removing the rule with asterisks from the final set of rules is an important step that helps us avoid "wild" dependencies and maintain the purity and clarity of the architecture. This ensures that each element of our system plays its role according tomanually entering the intended architectural principles. 🏗️🔒
Generating Libraries for a Specific Layer 📚🔧
After setting up architectural restrictions, one of the inconveniences we face is creating new libraries with specific tags without manually enteringquickly them each time. Fortunately, there's a solution!
Do you remember the generator we used to create the Angular application? What if I tell you that you can create your own generators for your Nx Workspace and use them as quickly, as the standard ones from @nx/angular? 🤯
Let's start by adding the @nx/plugin package:
nx add @nx/plugin
Then, we'll create a local plugin for the monorepo:
nx g @nx/plugin:plugin --name=nx-plugin
After that, we'll add a generator to our new plugin:
nx g @nx/plugin:generator --name=library --directory=nx-plugin/src/generators/library
If we take a look inside nx-plugin/src/generators/library, we'll find a generator.ts file and its corresponding test file. This example generator creates an empty project in the monorepo. We'll replace the source code of this file to add the ability to generate an Angular library. 🚀
It's also necessary to adjust the schema.d.ts file and add new fields schema.json, paying attention to the x-prompt field, which provides an interactive selection from a proposed list. This adds convenience and interactivity to the library creation process.
After all these steps, we can confidently run the generation command as if our generator was connected externally. 🎉
By answering the prompted questions, you'll receive a new library, generated with the correct tag and placed in the appropriate directory. Thus, we simplify the process of adding new libraries and ensure compliance with our architectural principles and rules. 🛠️✨
Dependency Trap 🚨🧩
Let's test our linter for strength and ensure it truly guards our code's purity! 🕵️♂️✨ Follow these steps to see it in action:
- Create two libraries 🧙♂️. One will be
lib-pagewith the taglayer:page, and the other will belib-featurewith the taglayer:feature. Use commands to generate them in the project:nx generate @code-stream/plugin:library --name=lib-page --layer=page
nx generate @code-stream/plugin:library --name=lib-feature -—layer=feature - Introduce a bit of chaos 🌪️. Suppose our rules state that
lib-featureshould not know aboutlib-page. Add an import fromlib-pagetolib-featureto test how attentive our linter is. - Run the linter, like a spell check 🔮. Enter the console command that will force the linter to scan our libraries for compliance with strict rules:
nx lint lib-feature
If everything works like clockwork, the linter should catch us red-handed and say, "Ah-ah-ah, this won't do!" 🚫, pointing out the violation of our sacred dependency rules. - Restore the universe to a state of harmony 🌌. Fix our intentional disorder by removing or replacing the import and rerunning the linter.
nx lint lib-featureThis time, the linter is silent, confirming that all is well.
With this experiment, we not only confirmed the functionality of our linter but also reminded ourselves of the importance of maintaining order in dependencies for the health of our project.
Conclusion
And here we are at the concluding chord of our journey through the fourth part of the series on micro-frontends. 🎉🚀 We've not just explored the tools and practices that help our architecture stay true to the principles of layered design but also
delved into the magic of creating libraries, setting up linters, and even organizing a small testing ground to check our system's resilience.
In the next chapter of our journey, we'll dive into the world of micro-frontends, where each component lives its unique life while contributing to the common good of the entire application. 🏗️🌍 We'll learn how to add micro-frontends to our project, how they interact, and what tools and approaches will allow us to best define and manage their boundaries.
Remember, the path of a developer is a path of continuous learning, experimentation, and discovery. See you soon in code! 🎈👩💻👨💻
✨ Missed my earlier articles? ✨
No worries, here are the links to the past installments in our series:
 Igor Katsuba
 Igor Katsuba
 Igor Katsuba
🔗 Be sure to catch up to get a comprehensive understanding of micro-frontend architecture and how we are integrating it into our systems. Stay tuned for more insights and in-depth discussions! 🚀